INSTALLATION GUIDELINE
FENCE AND RAILING
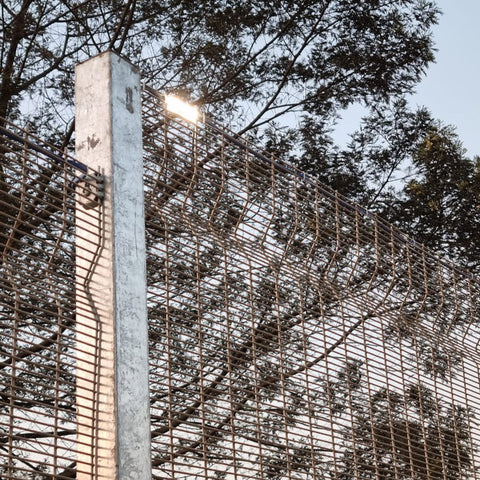
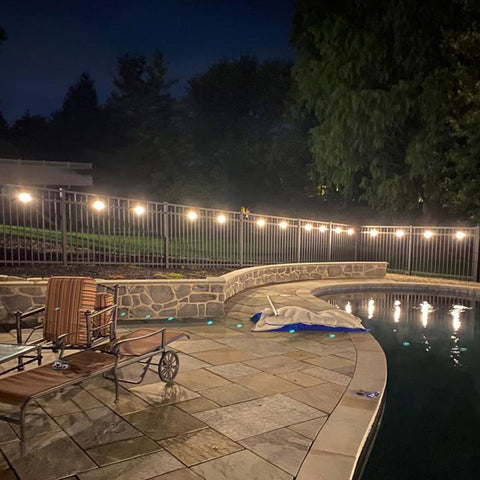
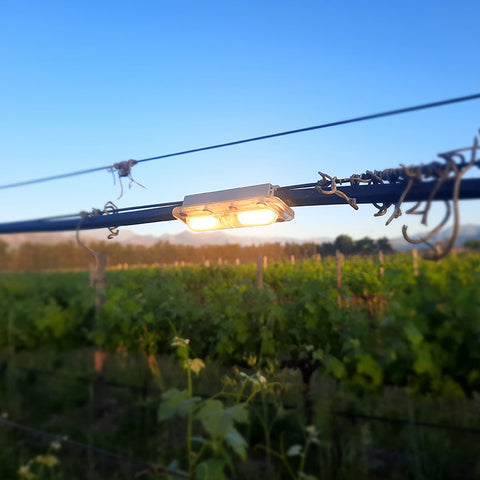
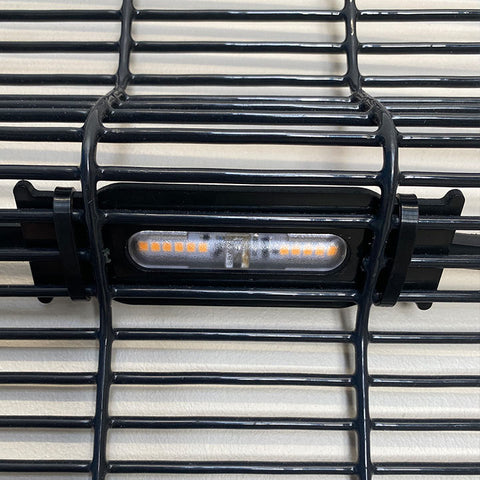
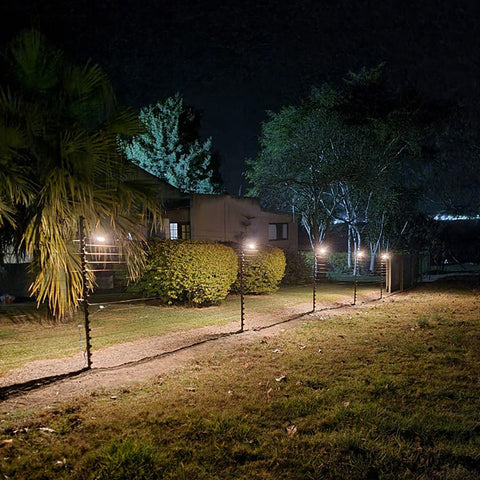
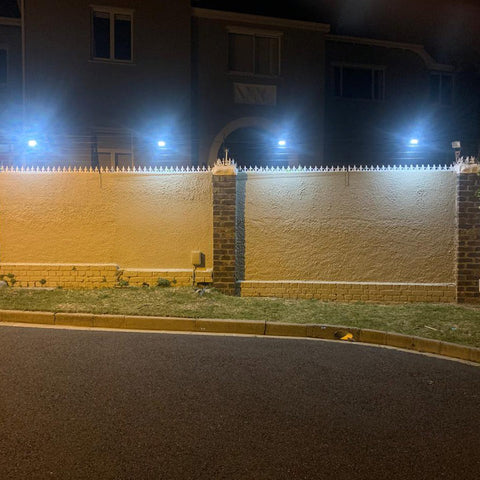
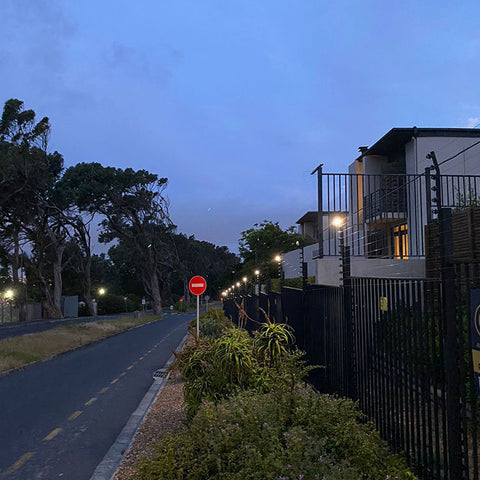
Secure the illumination cable to any horizontal wire or railing using Hog Rings or UV stable cable ties.
Need a lift? We offer optional post top brackets for raising the lights above the fence. This allows for 0° and 60° angling of the lights but does require adding a straining wire to your installation.
INSTALLATION GUIDELINE
ELECTRIC FENCE
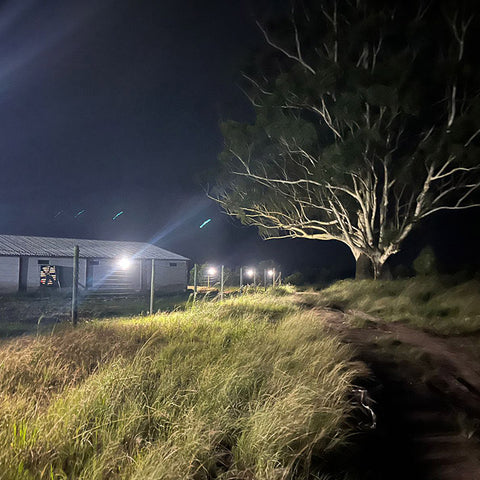
Use the neutral of your electric fence as your straining wire. Secure the illumination cable using Hog Rings or Cable Ties. Ensure that the fence is properly earthed. If cable ties are being used, ensure that they are UV stable. Crimp your lights on where required.
Note: The straining wire may droop with the weight of the illumination cable if the span is too far or if it is not tensioned sufficiently. We do not suggest spans greater than 3m/10’ if a very thin stainless wire is being used.
INSTALLATION GUIDELINE
WALL AND CEILING
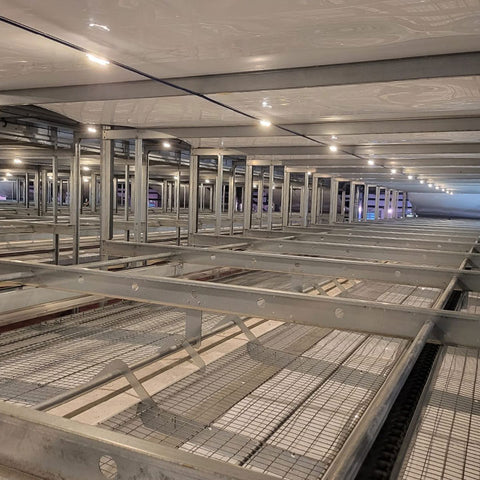
Mount an eyed rawl bolt to the wall, then using a tensioner, tension a straining wire (galvanized wire or stainless-steel rope ≤3mm) to support the illumination cable and the lights.
We do supply stainless steel support clips to keep the wire taught.
3RD PARTY INTEGRATION
The Perion Perimeter Power Pack includes a built-in alarm system that triggers a dry contact relay in the event of either a power failure or break in the cable (Cable theft). The alarm will trigger even if the lights are off.
The dry contact relay connects either directly to a 3rd party integrator or to our wireless interface, which can warn the customer directly via the app, or via a 3rd party system.
Suggested Spacing Options
The spacing of your Perion lights will be determined by the level of light that you require, the installation height and the orientation of the lights. Below is a general guideline:
Please get in touch with us and let our projects team assist you with preparing a light plan that meets your Lux and uniformity requirements in the most efficient way.
FAQs
Your questions, answered- 80 with a 220V supply
- 66 with a 110V supply
- At 3m/10’ spacing you can run 270m/900’
- At 4.5m/15’ spacing you can run 330m/1000’
- At 6m/20’ spacing you can run 380m/1250’
- At 9m/30’ spacing you can run 500m/1650’
A Perion crimping tool is required
- Press the light onto illumination cable
- Slide the cover over the 1st notch on the light. If you are using a support wire, ensure that it is seated in the channel on the cover
- Crimp the cover onto the light using the crimping tool
- The handle of the crimping tool can be used to remove a light if required
No, the small holes in the cable are not a problem.
Yes, but make sure that you attach the illumination cable to the neutral wire. Make sure that it is properly earthed and voltage free. Connecting the light to a live wire will blow them. The neutral wire essentially just acts as a support wire for the illumination cable
UV stable cable ties are acceptable, but we recommend using Hog Rings for a more permanent solution.
- In the event of a power failure or a cut cable, the alarm triggers a signal to your alarm system
- The alarm function works even when the lights are off by always having some current on the line
Yes, please enquire about our Wireless LoRaWAN gateway solution for remote alarm
No. The power pack can be plugged in like you would a toaster. Max draw is 1.2Amp at 220V. The line and the lights are 48V which is considered safe (SELV).
The Perion Power Pack has a built-in Day Night sensor. This is configured as default
If you want to use an External Input to control the lights (Motion Sensor, Manual Switch etc):
- Remove Jumper from INT and place it in the EXT slot
- Connect external input (motion sensor etc) to the EXT Input on the PCB
- Use a twisted pair, 2 core, 0.5mm screened cable.
- Connect one side of the earth wire to the earth of the 110/220V supply in the Power Pack
- Note that there may be a 1 or 2 second communication delay
If you wish to use the Power Packs built-in alarm system:
- Connect the NO/NC terminals to the 3rd party Alarm system. Our Power Pack is then seen as a Zone on the Alarm system
- Connect the Alarm reset terminals to the Alarm system. Alarm can then be remotely reset. There is also a manual reset button on the Power Pack PCB.
- All alarm/reset connections can be made using a screened cable.
- Use a 4-core cable if connecting the Alarm and the Reset button

